Probably one of the most overlooked parts of guitar maintenance is string changing. Most people assume that unless you’ve broken a string, there’s no need to replace them. Unfortunately, that’s really not true. There’s a time when you’ll have to change your strings even though they still work. Let’s talk about the reasons first and then we’ll get into how to do it.

Why Change Your Strings?
1. They're Getting Old....
As you continue to play your guitar, over time the dirt and oil from your fingers embeds itself into the strings. This makes the strings dirty and they become dull sounding. Imagine trying to sing while someone has their hand over your mouth. It’s hard to understand you when you and you won’t be able to sing as loud. This is basically what happens to your strings.
The question I hear all the time is “How Often Should I Change Them?” Well that depends on two things.
1: What kind of strings are you using?
2: How often are you playing?
If you’re using nylon or classical strings, you can wait much longer that if you used steel strings or nickel strings. Nylon strings can be changed anywhere from once every 4 months to once a year. If you’re playing a lot (think 2 or more hours per day) then you’ll want to change them more often. If you’re only playing for 20-30 minutes per day then you can start to lean more towards once a year. This is especially nice since nylon strings take much longer to stretch out when you first put them on. This is something we’ll go into more detail later.
If you are using steel strings on an acoustic guitar or if you’re using an electric guitar, you’ll want to change your strings every two weeks to three months. Again, depending on how often you’re playing will change when you do this. Two hours a day means more. Twenty to thirty minutes a day means less.
2. You've broken a string.
Breaking strings happens for many reasons. Sometimes you just get a bad string and it has a weak spot. Often though, breaking a string means you have a sharp spot or what are called burs trapped in the bridge or nut of the guitar. These metal burs are shavings that act like little razor blades and cut through your strings. If you find yourself consistently breaking the same strings in the same spot, be sure to have a tech look at your guitar to prevent this issue from continuing or getting worse.
A common mistake I see is when someone has a string break, they’ll just replace the one string. If you’ve had your strings for more than a couple weeks and you break one, just replace them all. Strings for guitar are not that expensive and if you keep practicing putting on the strings, you’ll be amazed how fast you can change them. I can do a full string change in about 15 minutes if I’m not distracted.
What Strings Should I Choose?
There are a huge variety of strings out there. Each offering different claims about what they can do. If you’re not sure, start with a basic brand.
For electric guitars I recommend Ernie Ball or D’Addario. For acoustic, Martin or D’Addario strings are great for steel or nylon strings.
The other question is “How thick of a string do I want?” The answer to this depends a lot on style and personal preference. There are differences in tension, tuning stability, and EQ that come from changing the thickness of your strings. Assuming you are using standard tuning, I generally recommend starting on the lighter side. Usually there are around 5 different standard thickness combinations offered by a company. I’d recommend starting around the second lowest one if you’re not sure and then adjust from there.
When talking with other guitarists, they will often talk about a pack of strings based on the thickness of the high E string. So if you tell music store employee that you are looking for a pack of Ernie Ball 9’s, this means the high E string is a thickness of 9. For stringed instruments, a higher number means thicker and a lower number means thinner. For example, Electric guitars may range from 8’s up to 12’s in thickness. Eight being the lightest set offered and twelve being the thickest.
Lastly, there are special types of strings. Sometimes this means different metals are used or the strings may be coated to try and offer increased string life. Whatever you choose is ultimately up to you. Just make sure that you do your homework and have a good understanding of what it is you’re changing when you try different ideas.


What Tools Do I Need?
Theres only a couple things you really need to do when changing your strings. You’ll need to cut whatever extra string is left, you’ll need to turn the tuner, and if you have a steel string acoustic you’ll need to remove the bridge pins. All of these things can be done with your hands or common household tools. Cutting strings can use either a wire cutter or a very good pair of scissors. Pulling bridge pins can be done with a pliers.
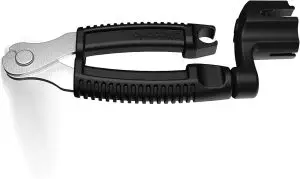
Most guitarists though would recommend you use a string changer multitool. These little devices are only a few dollars and are well worth the investment. They have a cutter for strings, a grabber for pulling pegs, and (best of all) a peg winder for making putting on new strings so much faster. I heavily recommend getting one of these tools if you’re going to be changing your own strings. It’s a huge time saver and you’ll thank me later for it.
Changing Strings
1. Remove Old Strings
This part is very easy. Begin by winding the guitar tuner to release tension on the string. Once you’ve release all the tension, the string should be able to be pulled out of the tuning peg in the headstock. After that you can begin to remove the string from the bridge of the guitar. Electric guitars usually just have to slide out the other side of the body or bridge. Steel string acoustics will require that you use your pliers or multitool and pull the peg out holding in the pin. Nylons will require that you undo the knot at the base of the bridge before removing the string.
If you are using any sort of guitar with a floyd rose or floating bridge, it is highly recommended that you only remove one string at a time. You don’t have to remove all of the strings at once unless you are trying to clean in places that would otherwise prevent you from getting there with the strings on. Be very careful that you have taken pictures of your bridge as removing all the strings at once may cause some parts to fall out of the bridge and you may have to put them back in place exactly the way they were before you removed the strings.
2. Attach New Strings
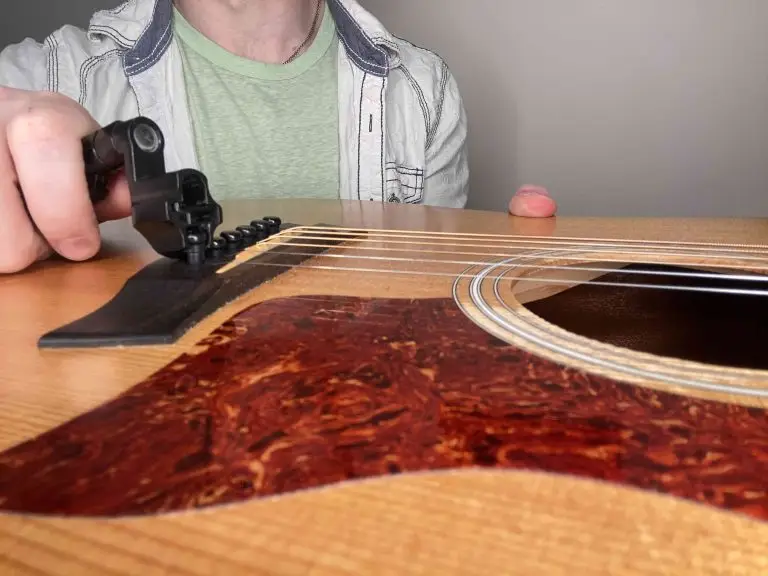
We are essentially going to be doing step one but in reverse order. You’ll need to begin by attaching your strings through the bridge of the guitar. For steel string acoustics, put the ball end of the string into the body first and the push the pin in behind the string. The pin has a hollow side where the string should sit. Place the pin in the guitar and then pull the string to keep the tension tight. Nylon strings should tie their knot near the bridge to hold it in place. Electric guitars should also keep the ball end at the bridge.
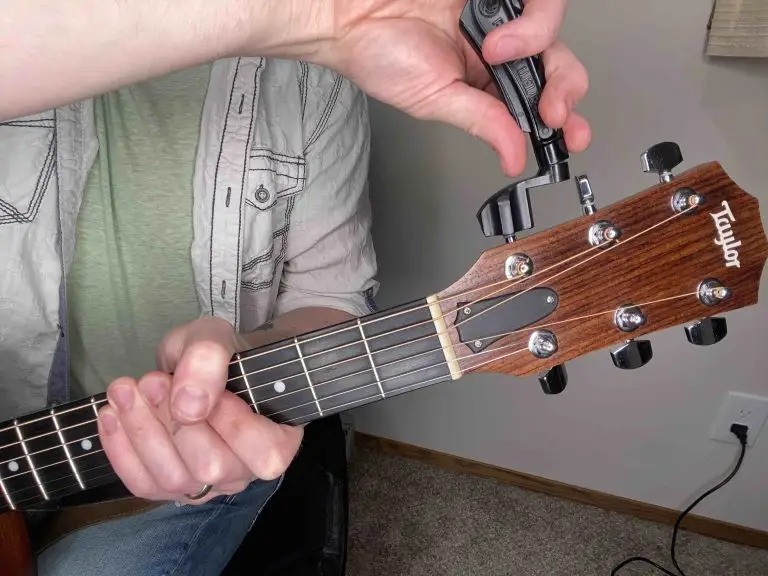
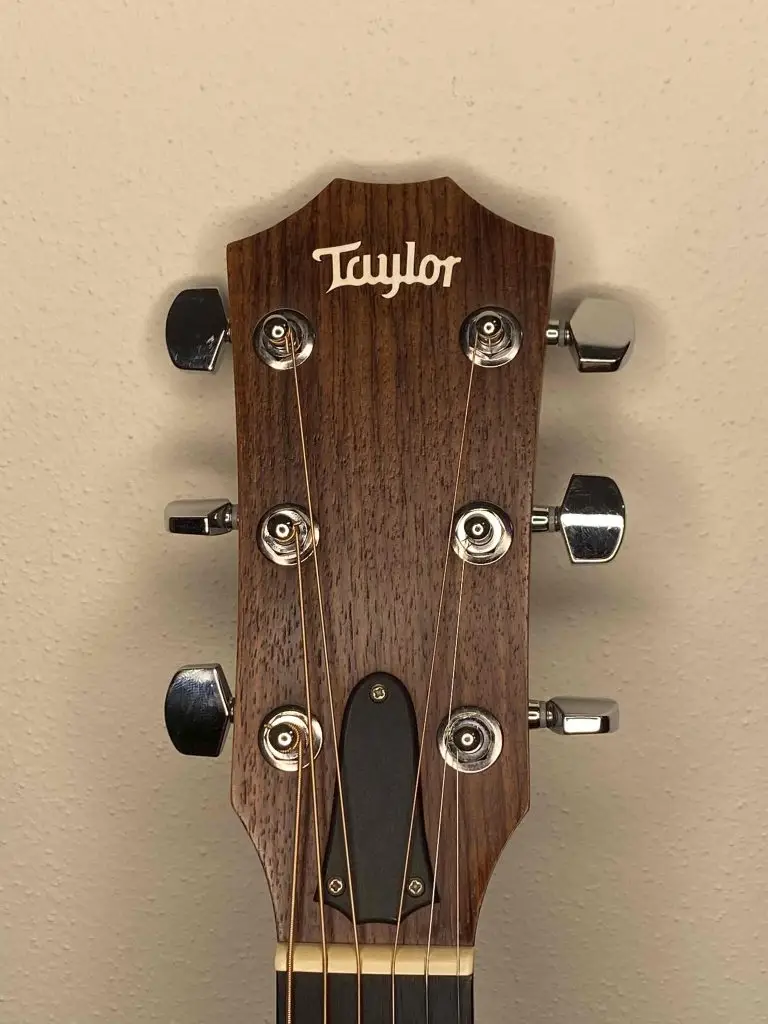
With the bridge end of the string in place, we’ll now pull the string tight and run the opposite end of the string up to the tuner. Make sure the string is sitting properly on the saddles near the bridge and that it lays in the appropriate string slot in the nut. Run the end of the string through the hole in the tuning peg and pull it tight. Once we’re tightly in place, we’re going to give it a little slack. Strings need to wrap around the tuning peg at least once in order to stay on. Some strings will require more wraps depending on the type of string and its thickness. Thicker steel and nickel strings only need one wrap while nylon strings or thinner strings may need more. Understand that the more wraps you give it, the less tuning stability you may experience so don’t think that more is always better. Try to find a balance for how many wraps you need.
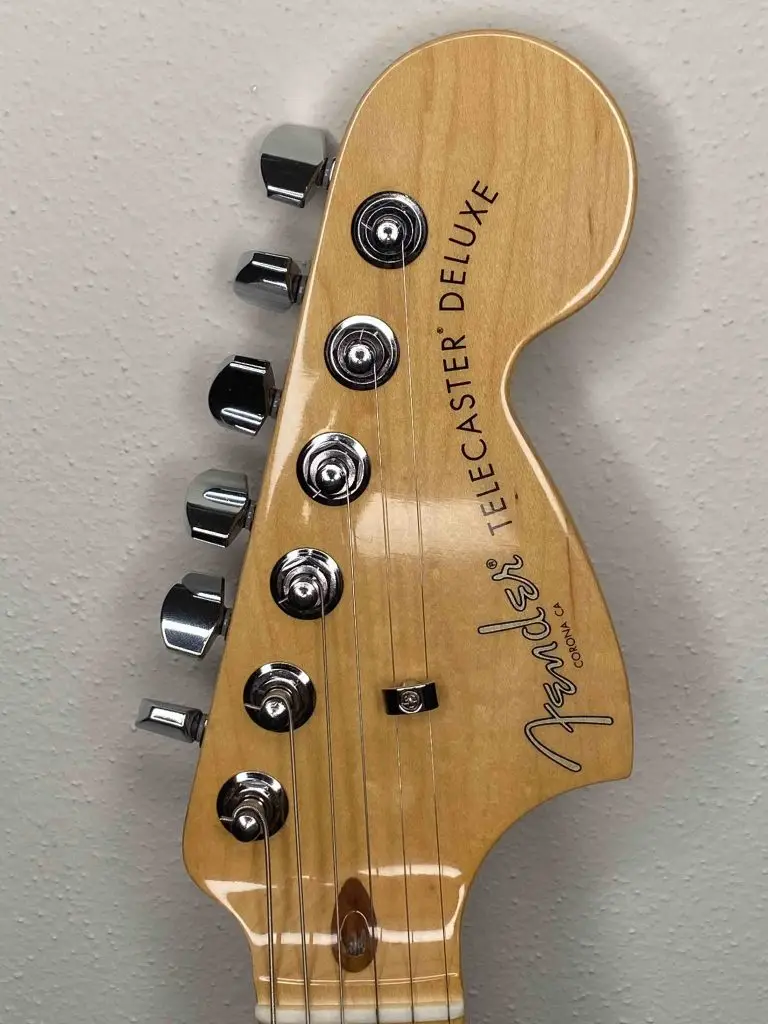
Now that we’ve got the string run and sitting in the tuning peg, we need to start turning the tuner to apply tension. Make sure the string is running counter clockwise to the tuner (outside to in) or that it’s going over the top on classical guitars. Keep tension on the string as you keep turning the tuner. We don’t want uneven bubbles or pockets in the string. It should coil up nice and even as you wrap the string around the tuning peg.Get the string close to it’s appropriate tuning. It doesn’t need to be exact yet. Just ballpark it for now.
Rinse and repeat this process for all the strings until all of them are done.
3. Stretch and Tune
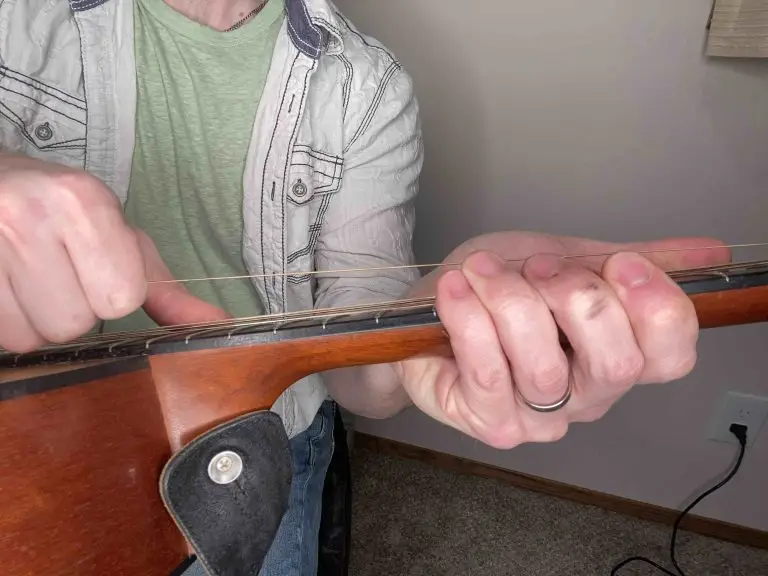
Before we spend time fine tuning our instrument, we should take a second to stretch out our strings. Strings will do this naturally over time but you’ll save yourself a lot of headache within the first couple weeks by doing this yourself. Assuming your string is close to the right tuning, you can grab the string with your strumming hand and pull on it. You can also use your fretting hand and bend it as well but I find my hand gets tired faster using this method. Make sure you do this in multiple places along the guitar. Don’t just pick it from the middle. Move up and down the neck and bend it 2-4 times per position. You’ll be amazed how much a string can detune using this method.
Retune the string and repeat this method one or two more times until you find the string is not detuning anymore after pulling on it. You may have to do this more for nylon strings since they tend to stretch slower than other strings. You can use this technique for all of the strings. You may choose to do this one string at a time or stretch all the strings and then retune. It’s up to you and what work method you choose.
When you’re getting to that final tuning, make sure you always tune from below. If you tune a string too high, lower the string below your targeted note and try again from below. Doing this will create better tuning stability and you won’t have to worry about your guitar coming out of tune while playing.
Finally, after you’re sure that your strings are stretched properly, you can now snip the remaining excess string from the tuning peg. You can clip it all the way up where the string leaves the tuning peg so don’t worry about if you’re cutting off too much. Just don’t accidentally cut off any other part of the string!
We Did It!
And that’s a string change. I hope your string change went well. Many people avoid changing strings much less doing it themselves but I hope that once you’ve done it yourself you’ll see that it’s really not that bad and the benefits are enormous! Take care of your instrument and it will take care of you.


